In eCommerce, a picture isn’t just worth a thousand words—it’s potentially worth hundreds of clicks, shares, and online sales.
Online shoppers can’t touch or see your products in person, so product photography is a critical tool for showcasing everything your products have to offer.
But not all eCommerce product photography will do. Today’s shoppers are discerning, so you need to create stunning imagery that builds trust.
Check out this comprehensive guide to transform your product listings into visual selling tools that captivate and convert more potential customers.
Why Does eCommerce Product Photography Matter So Much?
eCommerce shoppers expect to see a lot of visuals when they buy something online.
Unlike in-store shopping, online shoppers can't touch, feel, or try out products, so visuals are a key deciding factor in whether a shopper buys.
Good product photography compensates for this by providing detailed, accurate visual representations that help customers make informed decisions.
eCommerce product photography has multiple benefits for shoppers and online stores.
Make a Good First Impression
A website visitor takes just 0.05 seconds to form an opinion about a website. First impressions happen in milliseconds, which is why eCommerce product photos and website design matter so much.
Grainy, outdated images hurt your reputation, while crisp, modern images show you care about quality and the customer experience. High-quality images create a stronger first impression, boosting the perceived value of your product and brand.
Build Trust and Credibility
There’s a lot of competition in the eCommerce space, so you need to build trust with shoppers, stat.
Fortunately, quality product photography signals that your brand is trustworthy and committed to quality.
Boost Shopper Engagement
Product descriptions matter, but shoppers’ eyes go to images first. High-quality images capture and hold customers’ attention, increasing engagement on your site.
Reduce Returns and Bad Reviews
Nobody likes processing returns. In fact, returns cost U.S. retailers over $213 billion in 2022.
Accurate, detailed product photos reduce the likelihood of these expensive returns. They also help customers understand exactly what they’re buying, reducing the odds of negative reviews.
Increase Conversion Rates
The eCommerce shopping process is far from linear. It can take several visits before a shopper will buy something from your store. That leads to several missed opportunities for generating sales.
Fortunately, product photography persuades more shoppers to take action earlier in the buying process.
Did you know high-quality product photos get 94% more conversions than low-quality photos?
If you’re trying to boost sales, adding better-quality images to your product pages could lead to a measurable increase in conversions.
Five Steps for Taking High-Quality Product Photos
Product photos transform casual browsers into loyal customers.
High-quality product images give your store a professional appearance and play a crucial role in building customer trust and boosting sales.
Follow these eCommerce product photography tips for capturing stunning photographs for your online store.
1. Decide Between DIY and Professional Product Photography
First things first, decide whether you want to take the photos yourself or hire a professional.
DIY photography is more cost-effective and gives you more control over the photography process. But it does mean you need to buy all the tools and equipment yourself, hone your skills, and invest hours snapping product shots.
Professional photographers, on the other hand, guarantee high-quality results for less hands-on time. They might even give you access to a professional photography studio that's designed for eCommerce product photography. The downside is that professional photographers are much more expensive than a DIY job.
There’s no correct answer here. It comes down to your skills, time investment, budget, the volume of images required, and the desired level of image quality.
Most eCommerce store owners will do DIY images at first to save money and then look for professional photography services later on when they have a bigger budget.
2. Nail the Basics of eCommerce Photography First

If you’ve decided on the DIY route, research before picking up a camera. Understand the purpose of your product images and the story you want to tell.
This step lays the groundwork for your larger branding strategy, ensuring your photos align with your brand vision.
Decide on the Type of Product Photography for Your Online Store
Different products require different types of eCommerce product photography. For example, you might need product-only images to clarify a product’s features, lifestyle shots to show the product in context, packaging shots for accuracy, or group shots to show variety.
Consider your product’s unique features and plan shots to highlight them best. What features will your target audience find most appealing?
For example, if your products solve a significant pain point, ensure at least one of your photos showcases that feature.
Your audience’s preferences also matter here. For example, a primarily Baby Boomer audience will expect different images than a Gen Z audience. Know your primary shoppers’ expectations and plan your product photos accordingly.
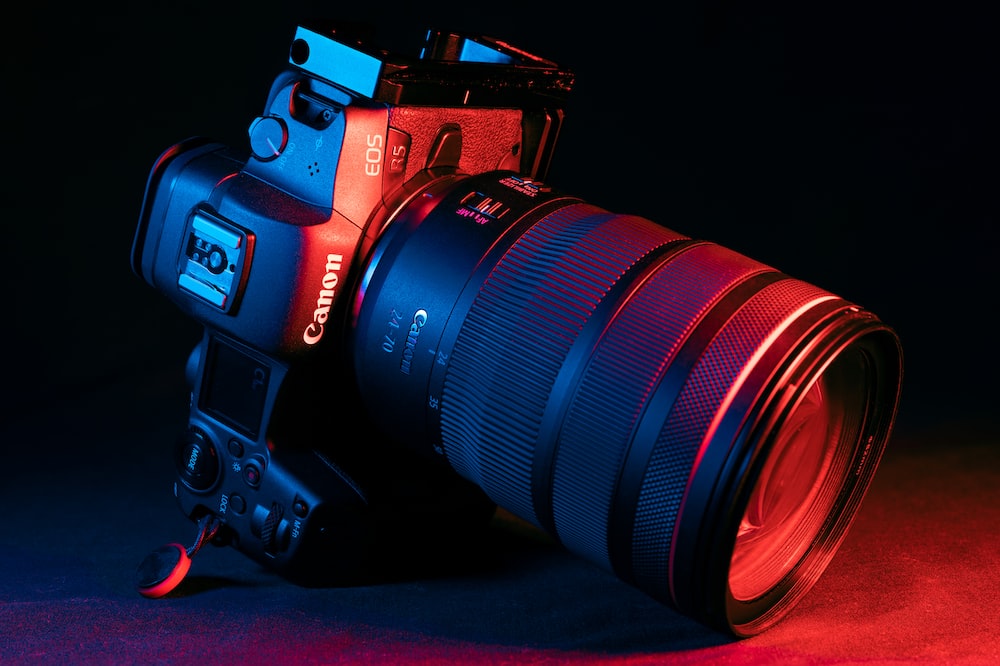
Get the Right Equipment
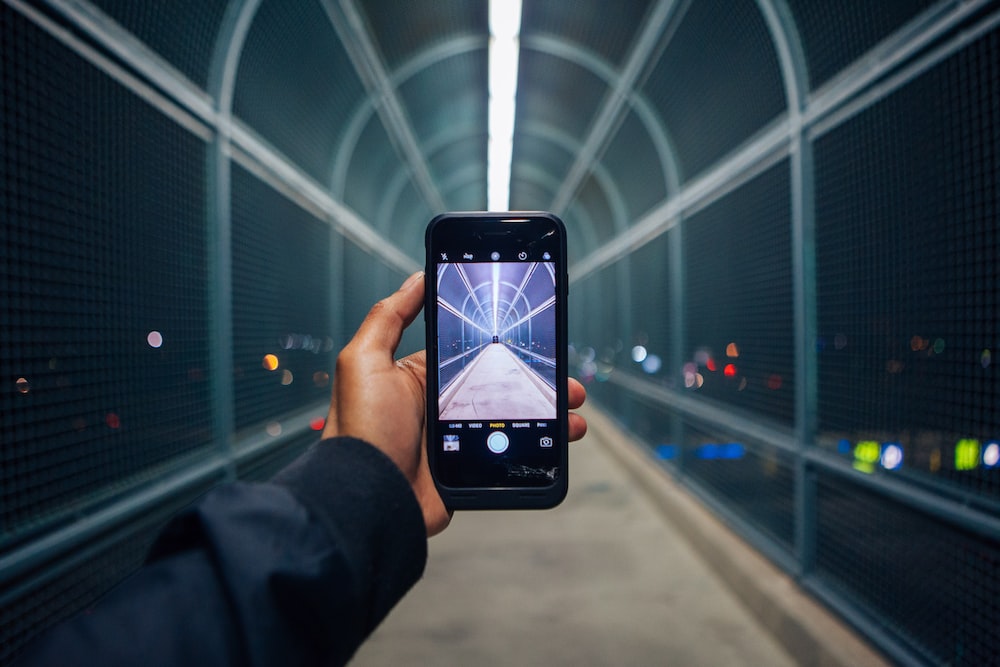
We love snapping pics on our smartphones, but many store owners use professional DSLR cameras.
While there are perks to using a professional camera, they’re expensive and require a lot of skill to use correctly.
Most commercial smartphones create high-resolution images, so as long as you get everything else right, you can use your smartphone for product photography.
What really matters is the lighting. Decide between natural and studio lighting based on your product and brand style.
Most people prefer natural lighting from the sun. That could be as easy as opening a window to let the natural light enter the room.
However, direct sunlight usually casts a harsh shadow, so try diffusing sunlight with a translucent filter.
If direct lighting isn’t an option, use studio or artificial lights.
You’ll need more equipment to create photos with the same effect as natural window light, but artificial lighting gives you more control over the result.
Lighting equipment like softboxes, a key light, a fill light, a light tent, umbrellas, and reflectors will enhance your photographs and give them a more professional, elevated appearance.
Don’t shy away from backgrounds or props here. The right background will make your product stand out, but make sure it isn’t too distracting—the focus should always be on the product itself.
Props should add context and complement the product. For example, if you’re selling a kitchen thermometer, you might use a background image of a modern kitchen and props like a kitchen towel to tell a more cohesive story.
Look up Technical Requirements
Image requirements vary by eCommerce platform.
For example, what works on Shopify might not be ideal for Amazon or your own eCommerce store.
Before you do anything, get the technical specifications for each platform and ensure your images fall within those parameters.
Otherwise, you could see quality loss or compatibility issues requiring time-consuming reformatting or photo retakes.
3. Structure Your Photography Process

You might not need a set process if you’re taking a handful of photos, but taking hundreds of photos can quickly get overwhelming.
That’s why it’s so important to lay out a set process for every stage of the photo shoot, from set prep to experimenting with multiple angles.
Prepare the Products
You want your products to look their best.
Clean the products thoroughly and remove any stickers or tags. Remember, photographs will magnify small smudges or dust, so keep a cleaning kit on standby.
Be sure to stage the products in a way that highlights their key features.
For example, reflective products like glasses need careful lighting to avoid unwanted reflections.
In fashion photography, clothes should be wrinkle-free and styled on either mannequins or models to show the products in use.
Set up Multiple Shots
Shoppers want to see different shots of the same product. You may need to experiment with camera settings to capture the right vibe.
This comes down to whether you’re using a smartphone or a DSLR camera, but you may need to play with the ISO, aperture, and shutter speed to get the right depth of field and lighting conditions.
For example, a slow shutter speed is best for illuminating darker scenes, while a fast shutter speed will make images appear darker.
The placement of your product and lighting can dramatically impact product photos, too.
Try different angles and lighting intensities to find the most flattering setup. Go for soft, diffused lighting so you avoid harsh shadows.
Side lighting is also a great way to highlight the textures and colors of your products.
Take the Photos
Simple product photos against a white background are helpful, but it’s important to include a variety of shots in commercial photography.
Try different angles or perspectives. Include lifestyle photos of the product in use. These photos help the customer visualize how they’ll use the product in real life.
You’ll spend a reasonable amount of time setting up a photo shoot, so check your images before you move on to editing. Look over your product photos for common mistakes like:
- Inadequate lighting: Poor or uneven lighting will create shadows or glare that give the image a less-than-professional look.
- Cluttered background: Props are great, but too many are distracting. Keep your props and backgrounds to a minimum.
- Low image resolution: Low-resolution images will appear pixelated or blurry, so set your camera to take high-resolution images of 300 PPI or more.
- Color issues: Does the light or shadow in the final image alter the product’s color? The color needs to be as close as possible to the actual product—otherwise, you’ll have dissatisfied customers.
- Scale problems: Increasing or decreasing the size or scale of the product gives shoppers unrealistic expectations. Try to give shoppers a sense of scale by sharing images with the product’s dimensions or a size comparison chart.
- An unstable camera: Cameras shake or shift during a photo shoot, leading to blurry images. Always use a tripod for crisp, shake-free photos.
4. Refine the Images With Post-Processing and Editing

Good lighting and product staging will get you far, but even the best product images need fine-tuning.
Follow these post-processing product photography tips to take your images to the next level.
Use Professional Photo Editing Software
Your smartphone probably has built-in basic photo editing tools, but they can’t make significant adjustments. Professional photo editing software gives you advanced tools to enhance image quality.
Plus, if a photo shoot doesn’t go to plan, the right editing software allows you to buff away mistakes and avoid retakes.
Photo editing software like Adobe Photoshop, Adobe Lightroom, and GNU Image Manipulation Program (GIMP) are popular choices.
If you’re working primarily on your smartphone, use a photo editor with a robust mobile app for image editing. Most photo editors come with free trials, so experiment with a few options to see what you like the best.
Edit Images Before Posting
With the software in hand, it’s time to post-process product images to create the final image for each product listing. Start with basic techniques like:
- Cropping to frame the product correctly
- Adjusting alignment
- Color correction
For a more polished look, consider advanced techniques like removing backgrounds or adding shadows and reflections to give a more natural and realistic appearance.
It’s essential to maintain a consistent look across all product photos, so decide on an aesthetic and replicate it across all product photos. Tools like Adobe Lightroom allow you to create custom image filters and bulk-apply them to all images in just a few clicks.
However, not all edits are a good fit for eCommerce product photography. For example, dropping a product into a model’s hands in Adobe Photoshop can look staged or inauthentic. Edits should be used in moderation, so don’t overdo it.
Optimize Product Photography Images
Images in hand, it’s time to upload the visuals to your eCommerce website. But you might have dozens of images of the same product, so which pictures are the best fit for your website?
Tools like Pickfu optimize eCommerce listings by choosing the best photography and infographics. Pickfu polls users to find the best possible images, so if you’re unsure which options shoppers will like, use this tool to find the best product image for the job. Pickfu helps you gauge customer preferences and identify areas for improvement, optimizing your images based on real feedback.
5. Don’t Forget About the Legalities
Image licensing is a big deal. You can’t pull images from social media or search engines without the right permissions, so get your legal ducks in a row for product photography.
Copyright law protects original works of authorship, including photographs. That means the photographer, not the subject of the photo, usually holds the copyright to that image.
That means whoever takes the photo (whether it’s you, an employee, or a professional photographer) owns the product photography copyright. This isn’t a big deal if you’re taking the photos, but if you’re asking an employee or photographer to do it on your behalf, ask for a release form that gives you permission to use the photos however you see fit.
If you’re a dropshipper, your supplier will likely provide product images with licensing agreements. Double-check your contract to understand how you can and can’t use product photography. Some suppliers allow edits, while others will only permit you to use their images as-is.
You also need permission to use your customers' images, including social media photos. Not all customers will agree to sign a photo release form, but it’s a must-have if you want to reuse customer images on your website or in your marketing campaigns.
If you want more lifestyle images, you can always hire customers or influencers to create user-generated content for your eCommerce products.
Supercharge Your eCommerce Business With Spark Shipping
Capturing the essence of your product through photography is more than just a click of a button. It's an art that blends creativity with strategy.
From nailing the basics and structuring your photography process to refining images with post-processing, every step is pivotal in creating images that showcase and sell.
Attractive photos are just one part of building a conversion-optimized eCommerce brand.
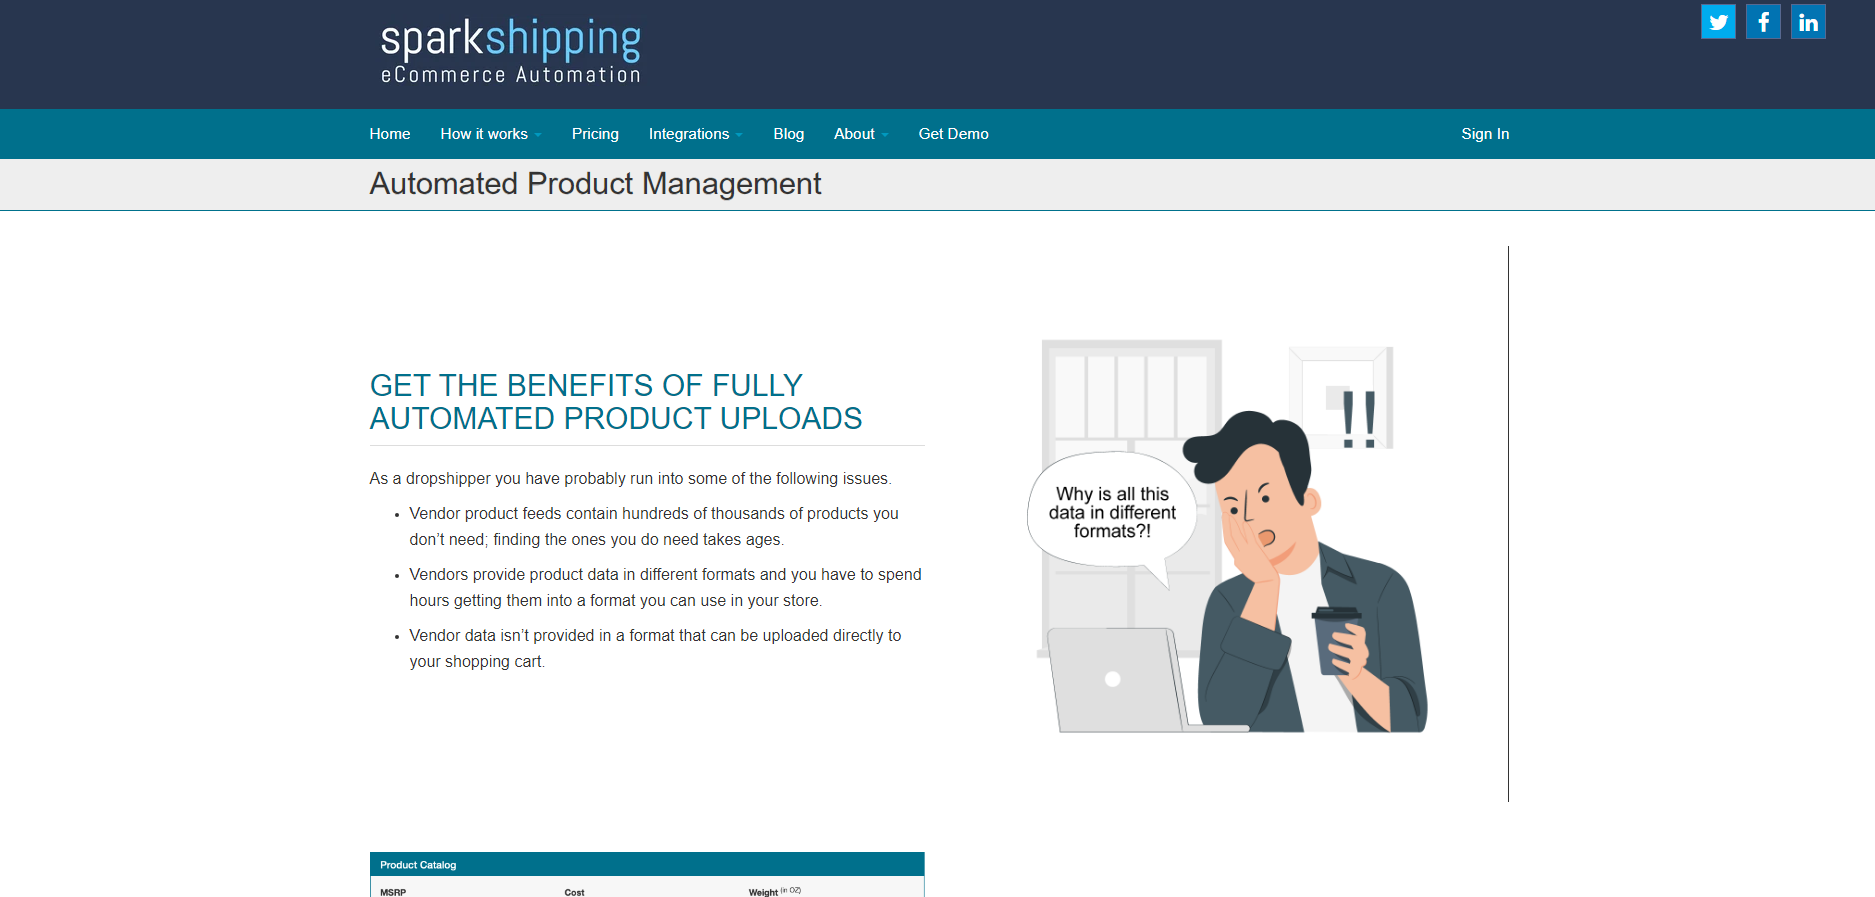
Spark Shipping is here to support you every step of the way with features like automated product updates, which effortlessly integrate and update your store with your vendor’s full product catalog—including product data and photos. This seamless integration allows you to focus on what you do best: selling.
You focus on selling products, while Spark Shipping handles the nitty-gritty of everything from product data to inventory management. Get a no-strings-attached demo now to create your profitable eCommerce store.